Love and Food in the Big D

Saturday, February 14, 2015

A Baby Bear Valentine Special.... ANNOUNCEMENT ;)


So it took THREE full attempts at photo sessions with my bear to get these particular shots.  The first time, she was uncooperative and totally NOT into our session AT ALL.  She refused any and all "commands" I gave her AND it was WAAAY too bright outside for any decent photos.  Her face came out, but everything else was blown out by the sun.  Strike 1.    

The second time, (leaving the camera out and ready JUST in case), I was so caught off guard that while I DID get some cute photos, they weren't the best lighting.  Indoor and at night with only the kitchen light to work with... Meh.  Strike 2

FINALLY, the third time was DEFINITELY a charm as my bear was MOSTLY cooperative and being extra cute.  The light was right.  Her hair was "done".  She actually had a bow on... and while this wasn't the outfit I had originally planned, I'm thrilled with how this "story" played out.  :)  FINALLY!  HOME RUN!!

So without further ado...

A Baby Bear Valentine Special ;)  

And the main reason why I've been MIA from our blog these last few weeks.. ;)


Someone's going to be a BIG SISTER!!  


LOVE this face.. hahaha.  It's ALMOST like she knows what's happening.  lol.  


God Gave Us Two.  :)  Everleigh and her sibling.  NOT twins.  lol..
Just wanted to clear the air.  


Tuesday, January 27, 2015

Everleigh's Big Girl Bed - SUCCESS


For those of you who've actually met our bear Everleigh... you know just how incredibly TALL this girl is.  At 28 months she's at least 36" tall and in the 98th percentile in both height and weight for her age.  With that being said, a couple months ago, Chad and I began to talk about when and how we would eventually transition her over to a big girl bed.  She hadn't QUITE grown out of her crib yet and had never given us issues climbing out so IMMEDIATELY this Momma Bear had reservations on making this transition at all.  It seemed silly to mess with a good thing...am I right?  Chad on the other hand, had a glimmer in his eye and an idea growing in his head.  There was no stopping him now.  ;)  

With a spare FULL sized bed in one of our guest rooms, we immediately thought that the smart, and most cost effective option would be to take that bed and BUILD Everleigh her own day bed.  Finding inspiration on Pinterest, Chad and I put our heads together to come up with a plan that would be the easiest for us to implement.  And when I say US, I mean HIM.  ;)  

I couldn't be more proud of my handy dandy husband and his first real build.  It turned out AMAZING and after four full nights of sleeping in her very own "Big Girl Bed", I think it's safe to say that this transition has been SUCCESSFUL!  (At least until she figures out that she can actually climb out of bed whenever she wants.  ;)  

For posterity sake, (and so Everleigh will hopefully one day truly appreciate the bed her dad made her with his own two hands), here's a quick glance of how it all came together.  

Boards cut.

Some assembly required ;)


The day bed "arms"

Double checking the fit


Decisions, decisions...

Painting in progress

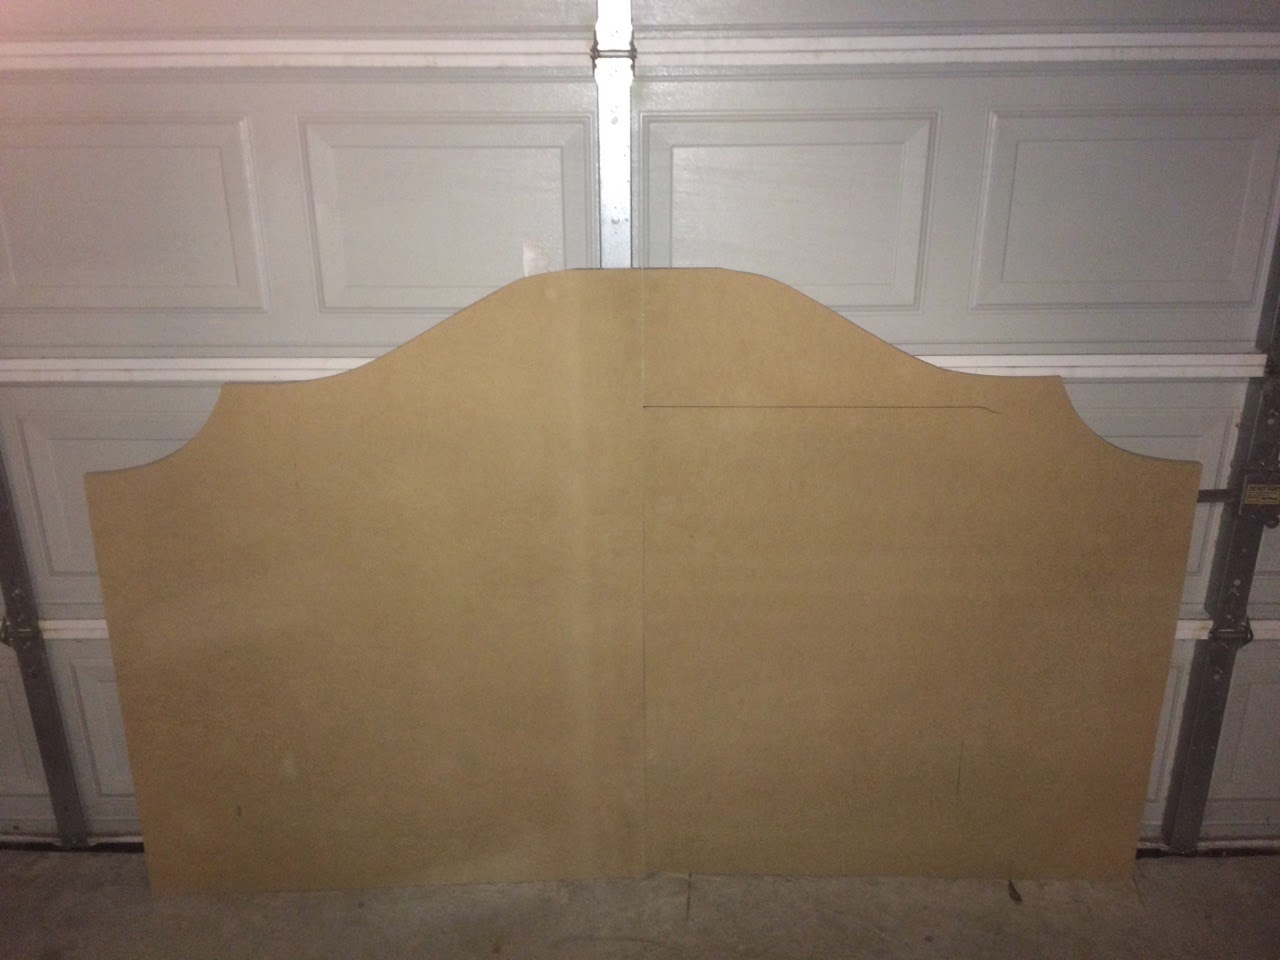
Time for the headboard

Used a jig saw to cut out the curves


And we used a sparkly pink fabric over a mattress pad and some batting that we used to cover the board.  

Unfortunately, you can't truly appreciate the sparkle affect of the headboard unless you see this in person.  

We used the same process to "pad" this headboard as we did on our master headboard project.  You can see more on that project by following the link HERE.

We chose not to tuft this particular headboard like we did in our master bedroom because we were afraid our bear would just mess with the buttons, eventually pulling them off and causing a choking hazard???  (Paranoid mom I know..but better safe than sorry).  We might add that element later on as she gets older because I definitely think it would look cuter with a tufted look.  

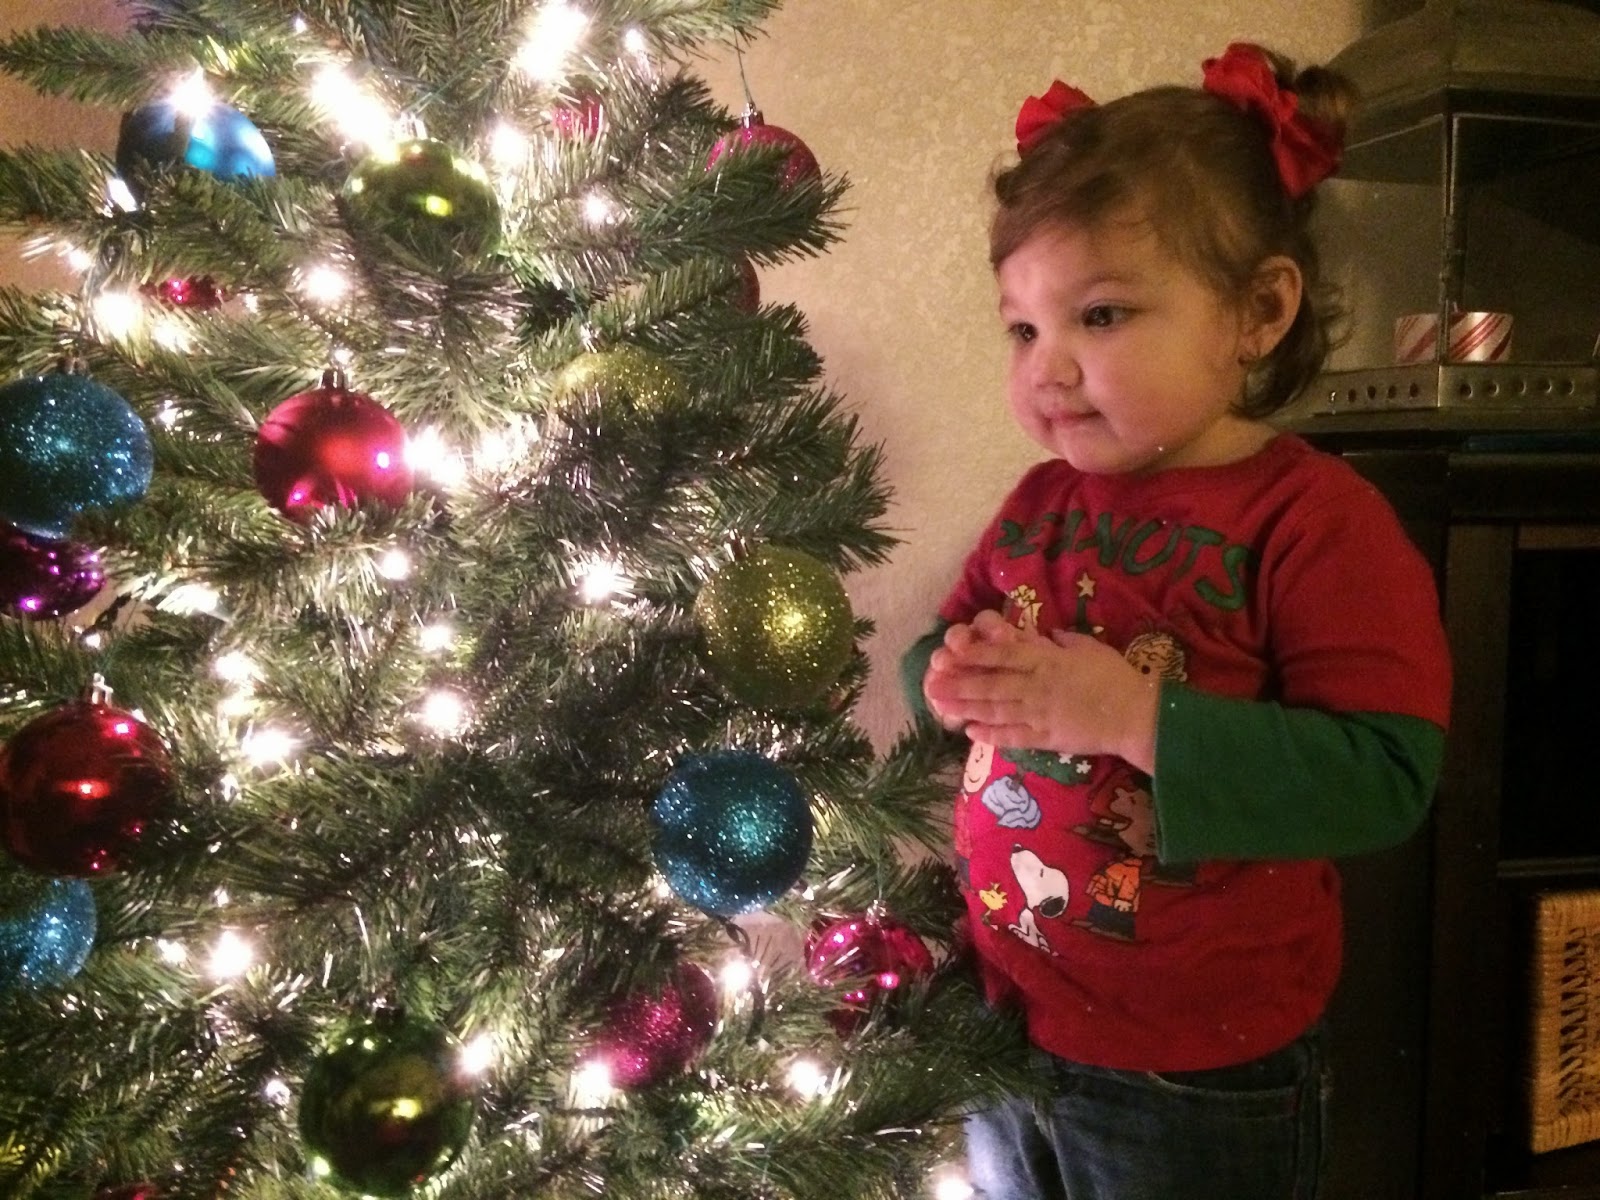
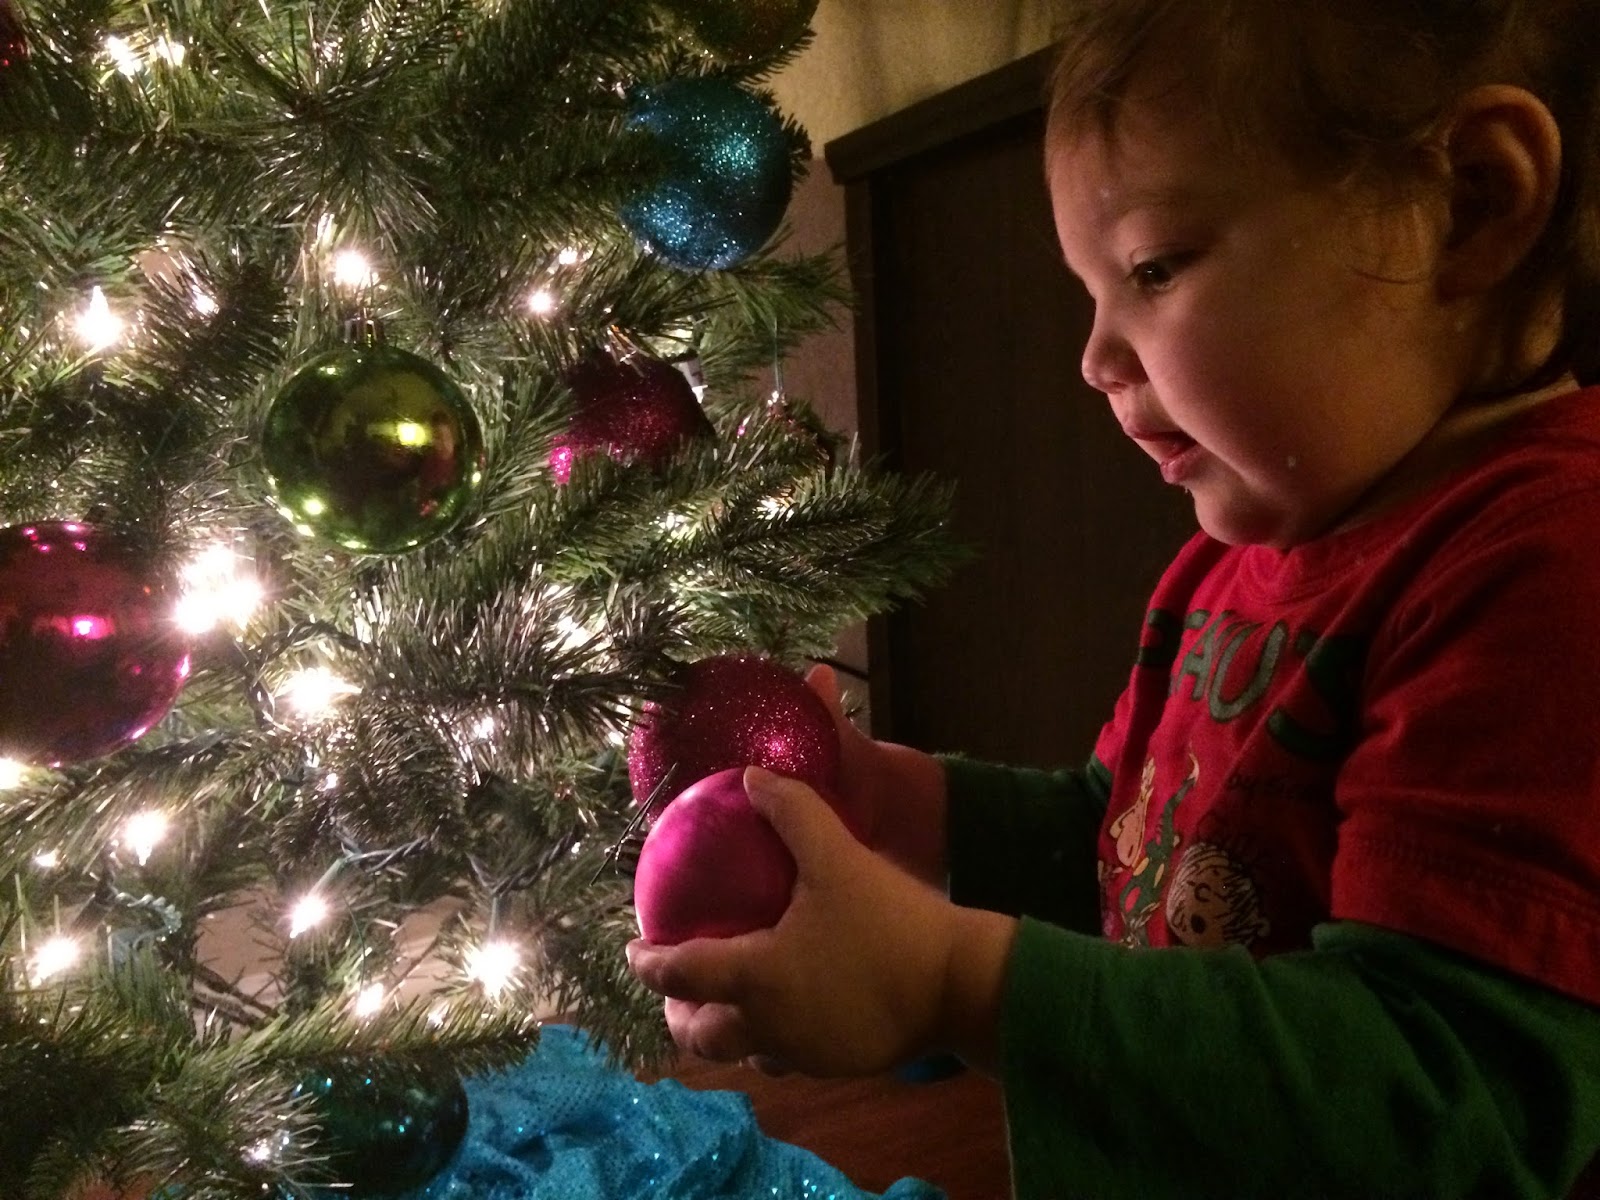
For at least a week we talked constantly about her "Big Girl Bed" and how exciting it was that daddy made this for her.  


When it finally came time to ACTUALLY put it in her room, she was thrilled!

There are a couple of items on the list that STILL need to be done: 
We need to find a way to finish those arm edges...she needs a new bold print/fun comforter (can't seem to find one I'm completely in love with yet) and I'd like to get her some big pillows to line the back..  BUT, so far, SUCCESS!  

Friday, December 19, 2014

Kelley Christmas House, Mini Tour - 2014


Every year Christmas always seems to sneak up on me.  With Everleigh's birthday at the end of September  kicking off the long list of holidays, birthdays and anniversaries in our family (that just so happen to fall before New Years), the hub-bub of Christmas usually hits me like a ton of bricks.  

This year though, I felt the urge to "deck our halls" WAAAAY before Thanksgiving even hit us.  Maybe it was the cold snap we had in early November, or the Christmas commercials that I swear I saw before Halloween.. or maybe it was the fact that we WEREN'T frantically trying to re-paint a room, or trying to get new furniture in the house before family arrived (like we were doing last year).  Whatever the reason, I was ready for it... Chad on the other hand, not so much.  ;)  After a few weeks of slow and steady persuasion (read: nagging ;) he thankfully came around.  ;) 

A few weeks ago, with plenty of time to enjoy our festive house, it FINALLY began to FEEL a lot like Christmas at our house  :)  


So without further ado, a Kelley Christmas house MINI tour
(because we really didn't put up THAT much stuff..lol) 


 The one thing that I was most excited about this year was the purchase of our new Balsam Hill Fraser Fir Garland.  It definitely was more than I would've normally spent on garland but I really wanted something that looked realistic and would be long lasting. 


Compared to the fresh fraser fir wreath hanging nearby, the garland looks amazingly realistic.  
So very pleased!  Can't wait to get more "filler" for it next year..this year I chose to keep it pretty simple.  


We actually have plans to eventually re-stain the whole mantle to match the kitchen cabinets (we aren't big fans of the cherry stain)..but since Jesus is the reason for the season, the previous owner's stencil "God with Us" seems fitting for our Christmas decor.  


Took some FREE fraser fir Christmas tree cuttings and went crazy covering the top of our console and making a new, simple wreath with berry stems and wired ribbon from Michaels.  


And because what post would be complete without Everleigh.. here she is, redecorating her very own tree again.  

Glitter balls off.  Glitter balls on.  Glitter balls off.  Glitter balls all on one single branch at the very bottom of the tree making half her tree bare.  Glitter balls off.  ;)  And repeat.  


And because (according to Everleigh) her Christmas tree decorating skills were needed at her cousins house, she went crazy over there too.  ;)