Love and Food in the Big D

Monday, September 08, 2014

The Making of: Our Super Awesome, DIY, One of a kind, Tufted Headboard Masterpiece!


Almost exactly a year into living at our new house in Frisco and we've FINALLY turned our attention to our master bedroom.  Hallelujah!  I'm actually quite embarrassed to show how we lived in that room for the past year.  From the AWFUL curtains that the previous owners left...to the pile of randomness in the corner... to the non existent bedding... this room has been nothing short of S.A.D. for WAAAAAY too long. 

Spoiler alert:  It's not quite done yet, BUT it's sooooooo close and it's come SOOOOO FAR!  I can't wait to show before and after pictures, coming soon.  Stay tuned.  :) 

The turning point to the whole master bedroom renovation project was getting Chad on board with this super awesome, DIY, One of a Kind, Tufted Headboard MASTERPIECE!!  After scouring Pinterest for inspiration and seeing waaaay too many beautiful headboards for waaaay more than I was willing to spend, I knew I wanted to try our hand at our very own do-it-yourself version.  

AND... it came out BEAUTIFULLY!! I couldn't be happier with the results.

For all those interested in tackling your own version of this headboard, here is my non-tutorial, tutorial...(because ya'll know I stink at giving instructions ;)


Materials Needed (In Photos!): I've seen these headboards done a number of ways, but this is how we did ours.  

Canvas Drop Cloth (or fabric of choice) - So cheap and we loved the texture!  Purchased at Lowe's, I was a great alternative to expensive fabric.  :) 


Batting - enough to cover the size of your headboard with a bit of overhang.
(This "full size" batting was enough to fit our king sized headboard frame.)

Mattress Pad (or Foam) - we went with the queen sized mattress pad because it was significantly cheaper than the foam we saw and it actually worked just as well.  


Upholstery Needles - Ours came in a pack of multiple sizes.. I used the longest one in the pack.  

Craft Cover Button Kit - 
we ended up needing two packages of these and had to make an extra trip to JoAnn's.  Just make sure you've figured out how many buttons you're gonna want BEFORE heading to the store.  

I insisted that we have a frame to surround our tufted headboard... 
(because I'm complicated like that)  ;)
Chad and Everleigh were in charge of that step.  


We taped out the size we wanted the headboard on the wall then Chad used our table saw to cut the frame surround.  He mitered the corners and used crown molding to give it some depth.  (it's a bit more complicated that I'm making it sound but there are plenty of in-depth tutorials out there if you need them. ;)  

We also used pegboard (cut to the size of the frame) for the backing of the headboard.  This allowed us to use the holes for the tufting... easy peasy! :)

The crown molding, glued (and taped!) to the outer frame.

While the frame dried, Chad and Everleigh figured out where we wanted the buttons ;) 

And because one pegboard wasn't big enough, we put two together.. 


Daddy's cute little helper. 

Project Manager Bear 


Marking her territory ;) 

Once the glue was dry... and while our bear had a little frozen yogurt snack, Daddy took off all the tape to prepare our frame for staining. (which he did outside in the garage, not in the house ;) 


We attached the two pieces of pegboard together with some extra pieces of pegboard!

And while Chad applied the first coat of General Finishes Java Stain (the same color we used on our kitchen cabinets), I worked on making the buttons.  
(This was by far the most painful process.) 

Then we laid down the peg board, spray glued the mattress pad down then wrapped it all with the batting (using the staple gun to secure the batting down).  We didn't wrap the edges because we wanted to attach the frame to the edge of the pegboard once the canvas was down.  

Then we stapled the canvas to the edges as tight as we could get them..
Starting in the middle (on the top and bottom and both sides) and working our way around


Using the pegboard (and the marks Chad and Everleigh had made earlier, I used the needle (and upholstery thread) to start from the back.. thread my way to the front, loop the button and go from front to back with the needle.  
** (If you're serious about doing this project, ask me how we secured the thread in the back. While Chad was wrangling Everleigh, and I was working on the buttons, I forgot to take a picture of this step.  It was a game changer though.. Ask me about it ;) 


After the buttons were done, Chad attached the frame to the pegboard by screwing from the back to the front.  We then wrapped the canvas and secured it to the back which gave it a nice clean edge. 

BAM!  DONE!  Best DIY project to date :) 

I'm so proud of us!  ;)  


Monday, September 01, 2014

GIVEAWAY - Dr. Smith's Prize Pack & $200 Visa Gift Card


When I was contacted by the great people at Dr. Smith's and asked to give a simple step I take to make life simpler everyday, the answer seemed pretty clear and straightforward.  Use your time wisely and BE PREPARED.

When Everleigh was born, nearly 2 years ago, I learned quickly how to manage my time efficiently while trying to handle this tiny human I was responsible for.  From trying to tackle those dishes that didn't seem to wash themselves, the sleep that amazingly didn't come easily and the errands that still needed to be run, the one thing that I made sure of then and STILL always make sure of now.. is to have her diaper bag ready to go.  I didn't wait until it was time to go somewhere to pack her bag with all its necessities.  I didn't scramble as we were trying to leave.  I made sure to always carve out a few minutes of her nap time to replenish as needed and most of the time I even put her bag back in the car so I would have one less thing to deal with as we tried to head out the door.

Diapers? Check.  Wipies?  Check.  Extra change of clothes?  Check.  Diaper cream? Double Check.

Because rashes are such a common occurrence in my baby bears life, I jumped at the chance to help soothe my bear's rashy bum with one of Dr. Smith's newest products.. DIAPER RASH SPRAY!!  Amazing that no one had thought of this before.  As most mommies (and diaper changing daddies) know... changing a rashy baby's diaper can be a nightmare...for EVERYONE!  It's painful to watch and heartbreaking to hear those screams of discomfort.  This gentle and fast acting spray helps alleviate the added pain of needing to apply any cream.  :)  Genius!

With such great experiences with all of Dr. Smith's products, I'm so happy team up with them to be able to bring you this amazing giveaway where there will not only be one 1st place winner but ALSO THREE runners up! 


The 1st place winner will win:  
$200 Visa Gift Card & Dr. Smith's Prize Pack 
and the
3 runners up will win:  Dr. Smith's Prize Pack 
AMAZING RIGHT?!  


For one week only (September 1, 2014 - September 7th at midnight) click on the Rafflecopter below to WIN!!  

Winner will be chosen at random.  Good Luck!!


a Rafflecopter giveaway

  • Dr. Smith's is now available nationwide at Walgreens
  • Find the retailer nearest you at  doctorsmiths.com

See what mom’s are saying about Dr. Smith’s:

A little bit about Dr. Smith's 
Dr. Smith’s Diaper Rash Ointment was developed in 1963 by Dr. Forest M. Smith, Jr., a long­‐time San
Antonio pediatrician. Its incomparable effectiveness has earned it the recommendation of pediatricians and pharmacists everywhere, and can be found in retail stores nationwide. Dr. Smith’s is marketed by Mission Pharmacal, a privately held pharmaceutical company based in San Antonio, Texas. For more than 65 years, the company has been committed to meeting the unique healthcare needs of women throughout all stages of life, pediatric patients, and those persons dealing with urologic and dermatologic conditions. 

Monday, August 25, 2014

Everleigh Isabella Kelley - 23 Months and Counting


One month left til her 2nd birthday and I've got a whole lotta nothing to say....other than I'm sad.  Sad about her growing up so fast.  Sad about her nearly being 2...and sad about not being able to do anything about it. You would've thought in two years I would've figured out a way to make it stop..or to slow down at least.  Nope.  I've got nothing.  Cue the overly emotional mommy moment.. :(  

In honor of 23 months of baby bear goodness, I thought it fitting to capture her in her element.. neck deep in a bucket of fun balls squealing like crazy as she plays with her furry sister Macie.  With a smile that can light up any room, and silliness for days, this girl's a firecracker to say the least.  SO much like her mom and dad it's scary.  Stubborn, strong, independent and opinionated....AND CRAZY, CRAZY SMART!  She's definitely gonna keep Chad and I on our toes with her wit and sass that's for sure...BUT I wouldn't have it any other way.  So without further ado.. 

~~ Happy 23 Months Baby Bear ~~


Thursday, August 07, 2014

Chef Chad Kelley Dinner Special - Robbi's 60th Birthday


Since Chad and I moved to Frisco, almost a year ago to the day, we've had the great fortune of meeting some really great people we've come to call our friends.  From play dates with our sweet babies… to Sunday dinners at our house, Maggie, Christian and their sweet son Asher have become permanent fixtures in our lives.  J  When Maggie willingly stepped in to take care of our fur-baby Macie, after calling her in a panic the day before we were to leave to California (when our original pet sitting plan fell through), we knew we wanted to find a way to pay back this enormous favor. 

So when Maggie asked for recommendations for potential catering companies for her mom’s 60th birthday, a couple weeks after our return from California, Chad immediately volunteered.  It seemed like a no brainer and we set out to help plan this special surprise for Maggie's mom.  :)

A couple weeks of planning and EIGHT courses later, the night went off without a hitch!  Tagging along for the ride, I helped Chad in the kitchen, keeping up with the plating by washing, drying and setting them out again.... and of course, trying my best to capture each dish before it went out.  But wouldn't you know.. in our haste to prepare for the night, I completely forgot our "real" camera!  Luckily my Iphone seemed to do just fine. :) 

Now.. ON WITH THE SHOW!  ;)  


Watermelon Salad
Creamy Feta, Spiced Cashews, Basil, Blis Sherry Vinegar

A Chef prepared dinner wouldn't be complete without a proper menu, 
designed by yours truly.  :)


Chad explaining each course :)


Fresh Pasta
English Peas, Hen of the Woods, Truffle Butter, Tendrils


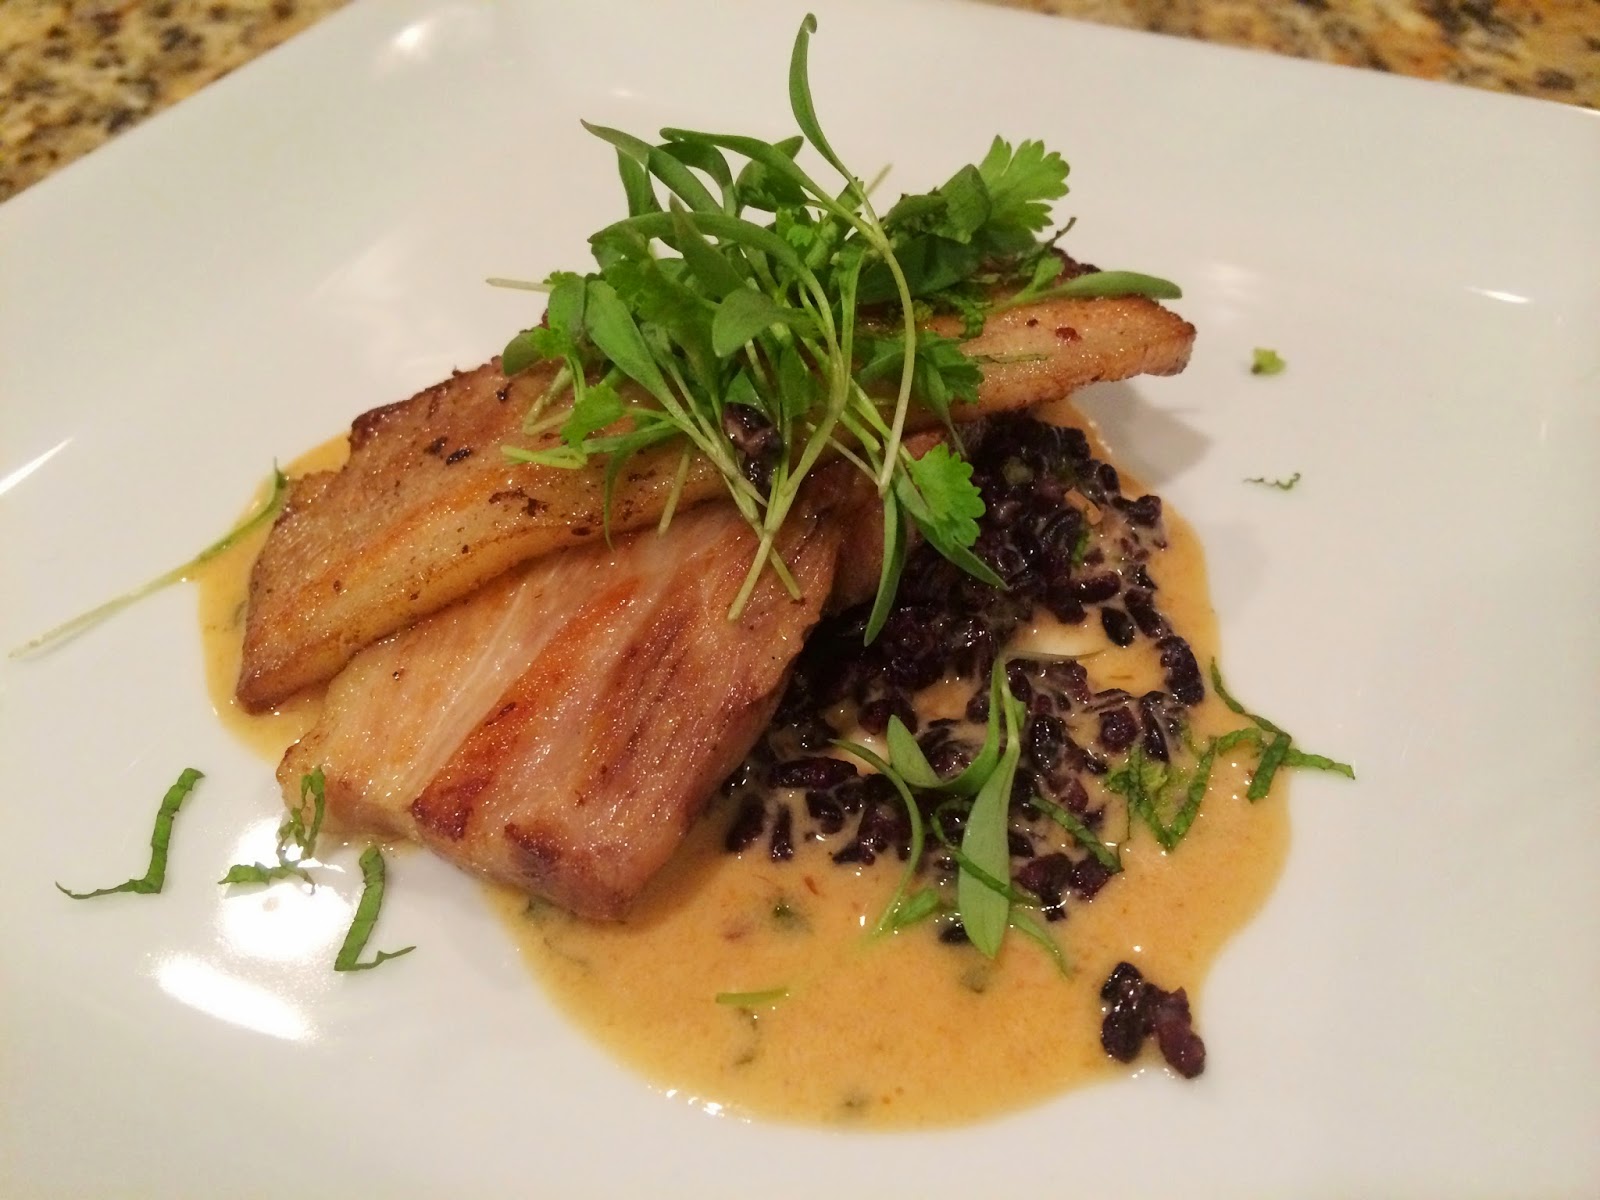
Braised Pork Belly
Forbidden Rice, Panang Curry, Thai Aromatics


Cauliflower
Parmesan, Pickled Raisins, Pine Nuts


"Shrimp Boil"
Sea of Cortez White Shrimp, Andouille, Fresh Corn Polenta


Slow Roasted Salmon
Washington Cherries, Smoked Almonds, Rosemary Brown Butter


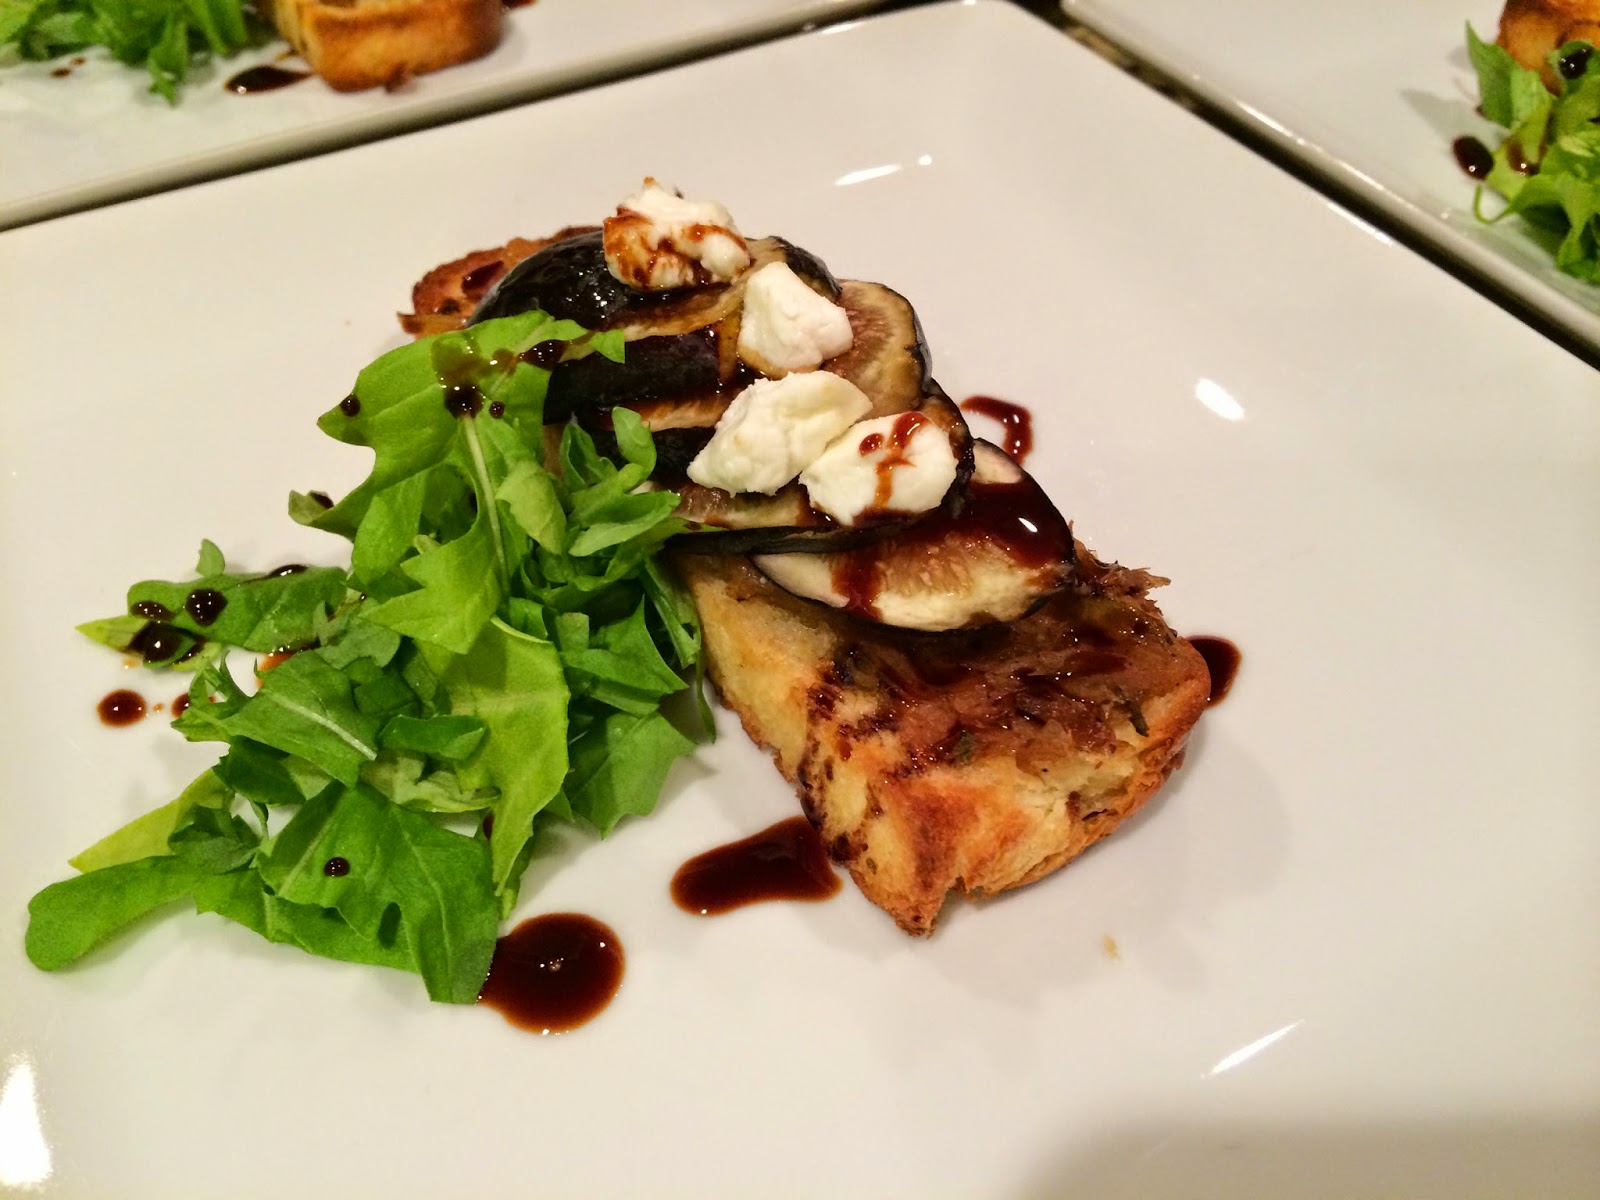
Tartine
Black Mission Fig, Caramelized Fennel, Goat Cheese, Saba


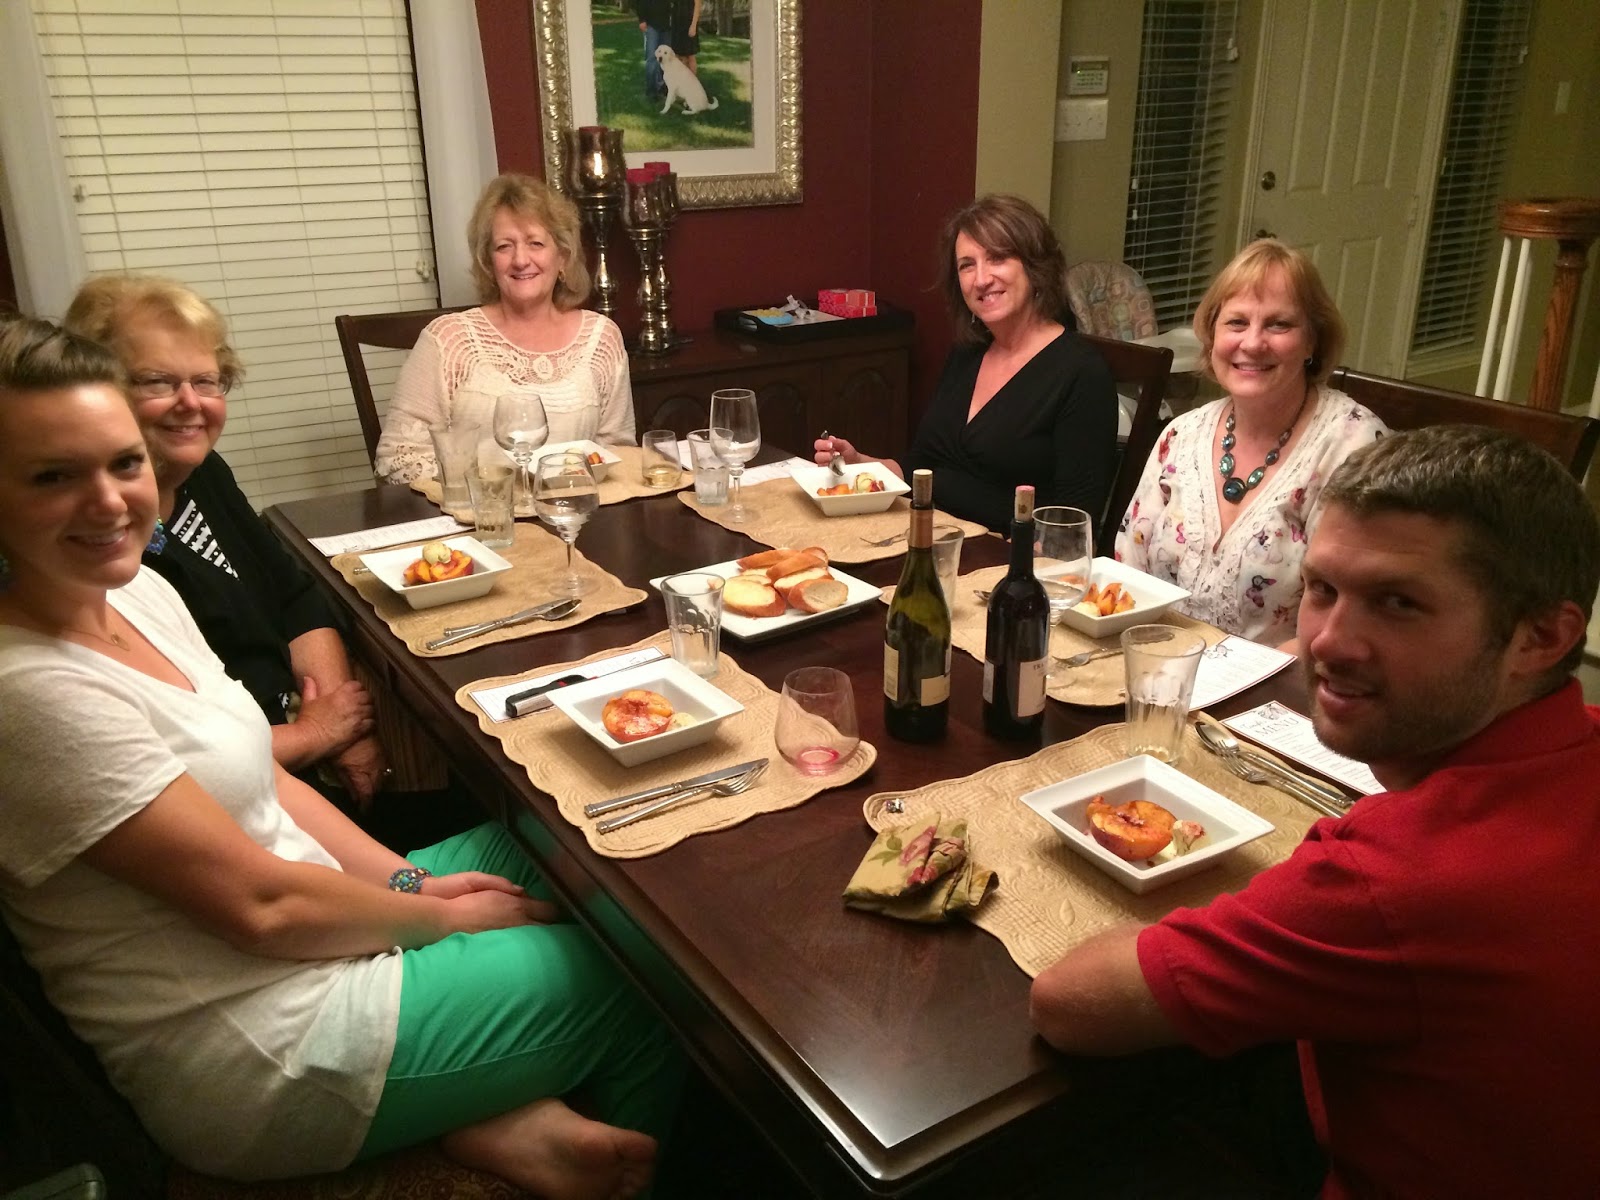
  Texas Peach
Tarragon Ice Cream, Dried Strawberry, Buckwheat Honey


Happy 60th Birthday Robbi!!
Glad we could be a part of your special day :)